3D printed ice cream machine
Inspired by an intriguing idea on Youtube for a 3D printed ice cream machine designed by 3DPrinterAcademy. They demonstrated an interesting way to churn ice cream by spinning a mason jar in a large freezer without any 3d printed parts touching the food content. I thought it is a nice idea to make one myself as I like to cook and I might be able to reproduce the kind of gelato-like ice cream with different flavours that was once sold in the UK around 2010 but no longer avaliable now. Following the working principles identified in their design, I tried to make one that works for a smaller drawer freezer with containers that I already own.
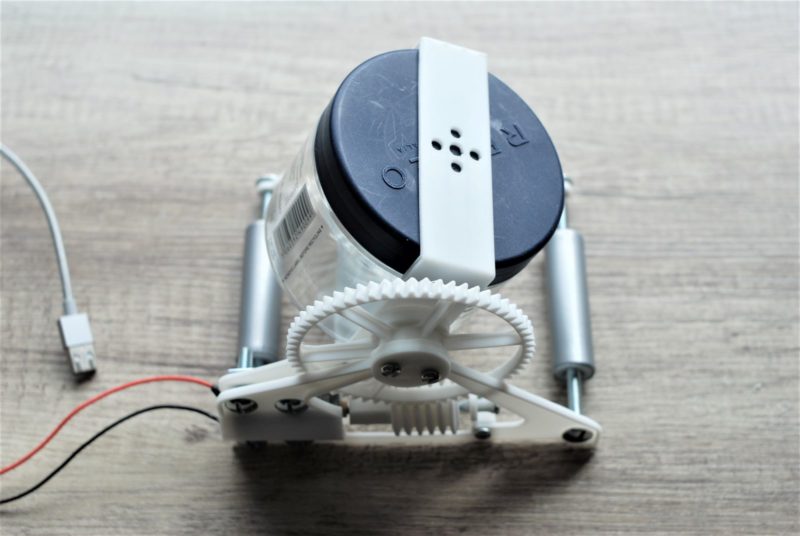
This has been an opportunity for me to learn more about powered motorized gear mechanisms and 3d printing by trial and error with a number of design and print iterations. To date, I made three versions since summer 2022. All three versions are powered with a USB battery outside the fridge, and make use of M6 and M4 bolts that I already own from previous projects.
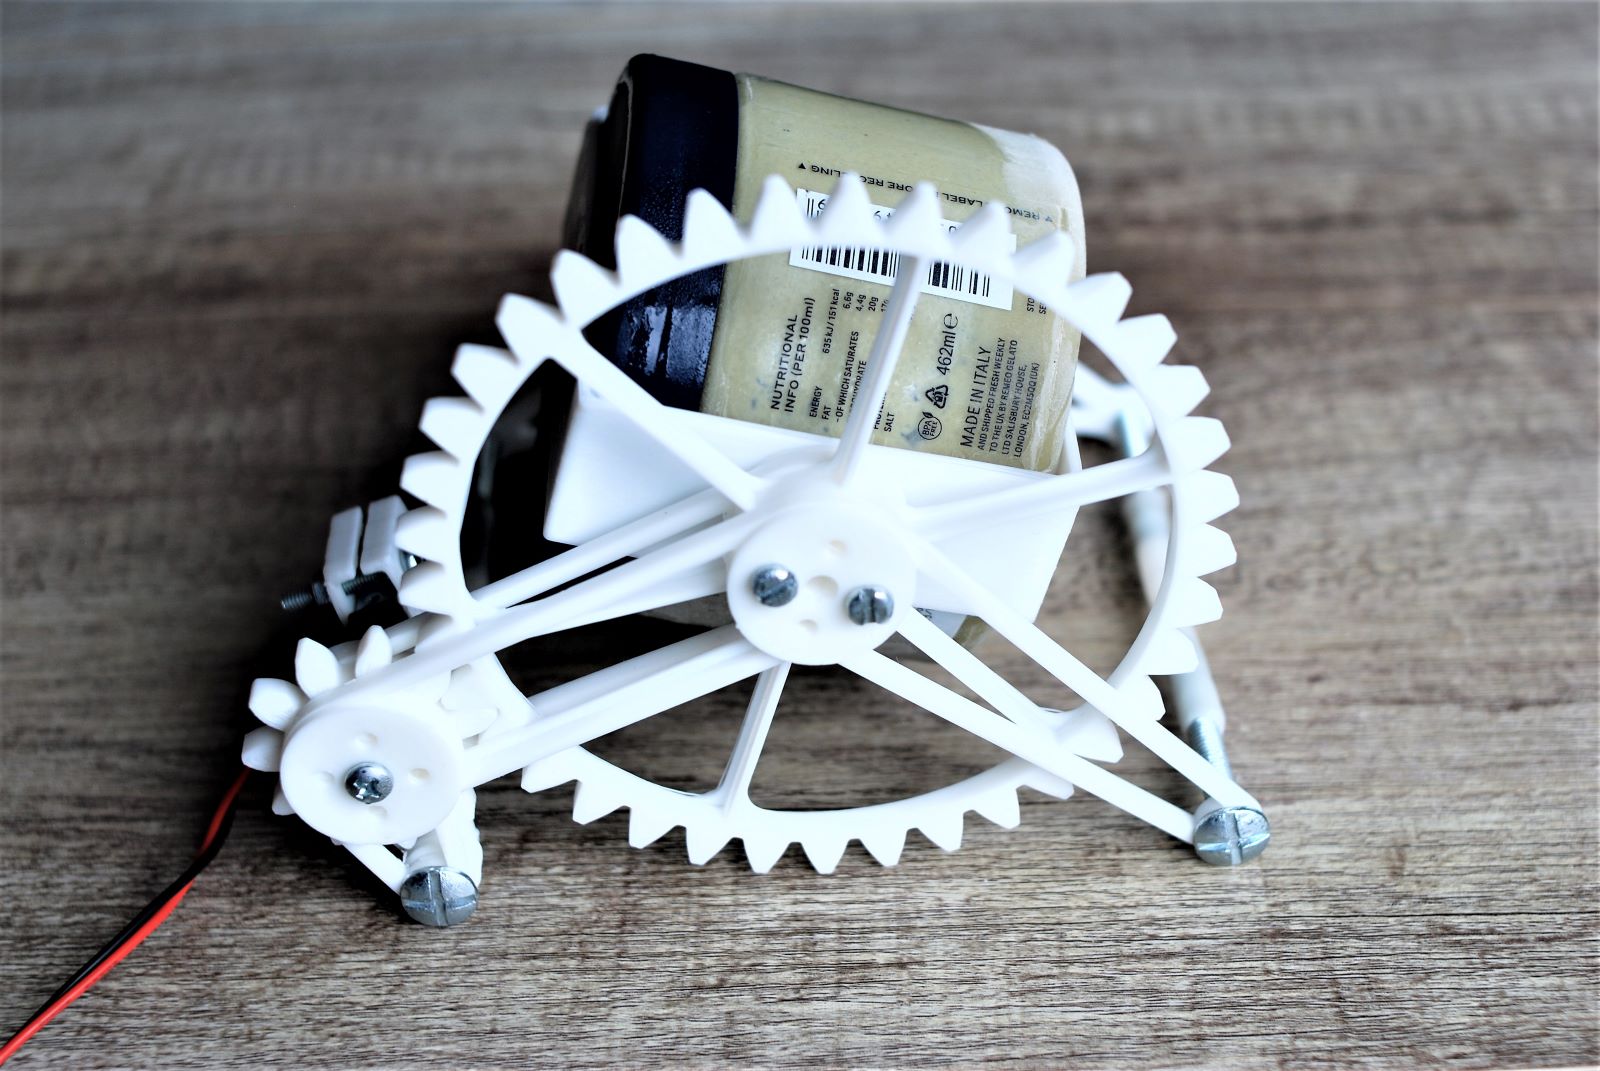
For the container my main concern is that it fits the fridge with a maximum 150mm height and the container does not leak. For the first version, I thought maybe if the machine does not work I can still make the content into ice cream as a plan B using a ziploc bag method just to see if the approach actually produce good ice cream – and it does! From there I started reusing an empty ice cream container that is small enough to spin around freely in the fridge. For version 2 and 3, I have printed a mount specifically for the container since it worked well.
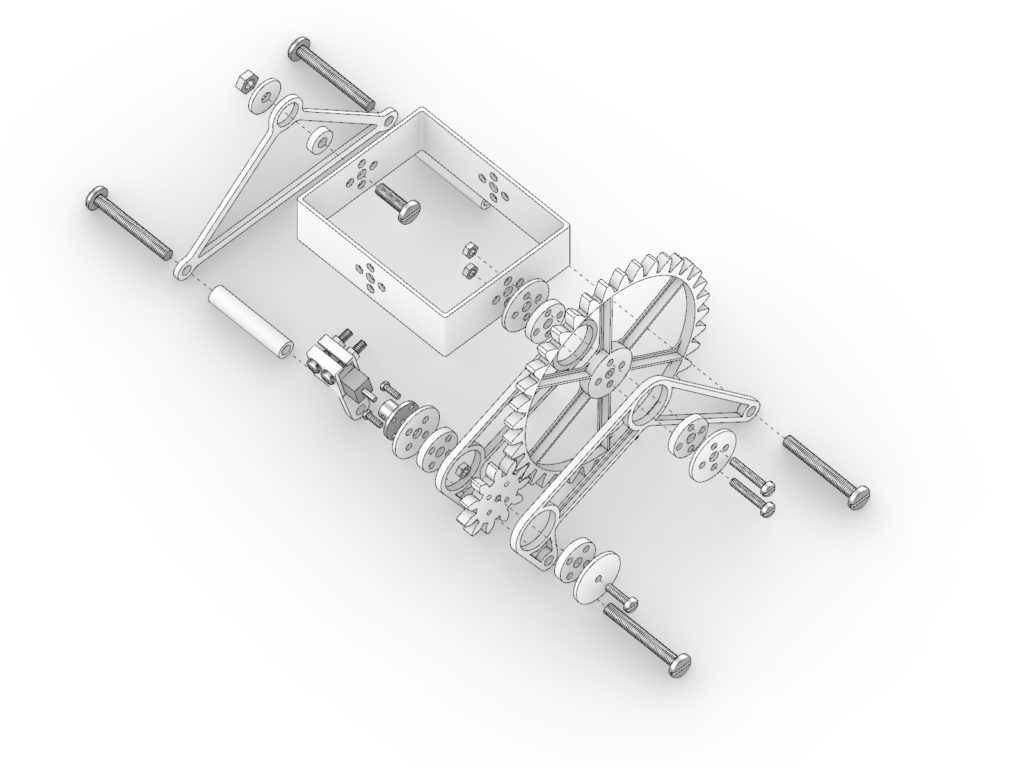
Another issue that I had is the geared motor to 3d print connection. I bought some NC20 geared motors like the ones used in the precedent but the pressure fit connection between the motor shaft and the 3d printed part fails after making a few ice cream runs. I have tried putting in a metal screw to hold the D-shaft but eventually bought a metal flange coupler to handle this. This part fails after a few runs is probably not completely down to the the print to shaft connector. My first design had flaws resulting in the gears not being in the same plane in operation and the motor is not held secure enough in place. The container mount not being connected to the other end, and not having something to hold the gears in plane. This resulted in a worn out gearbox on the NC20 motor.
To address these issues, I tried to see if there are other kinds of gears that I can use and how other people design the assembly. For version 2, I have adapted Worm-Gear Reducer by mattheus for the gear mechanism with a redesigned mount for the ice cream container. I thought of trying the worm gear as the main gear will not be able to push the motor so at least the gearbox in the motor is safe. This design, however is spinning in a much slower speed at around 0.5 turns per minute compared to the first design at around 17 turns per minute – I should learn a bit more about gear ratio here.
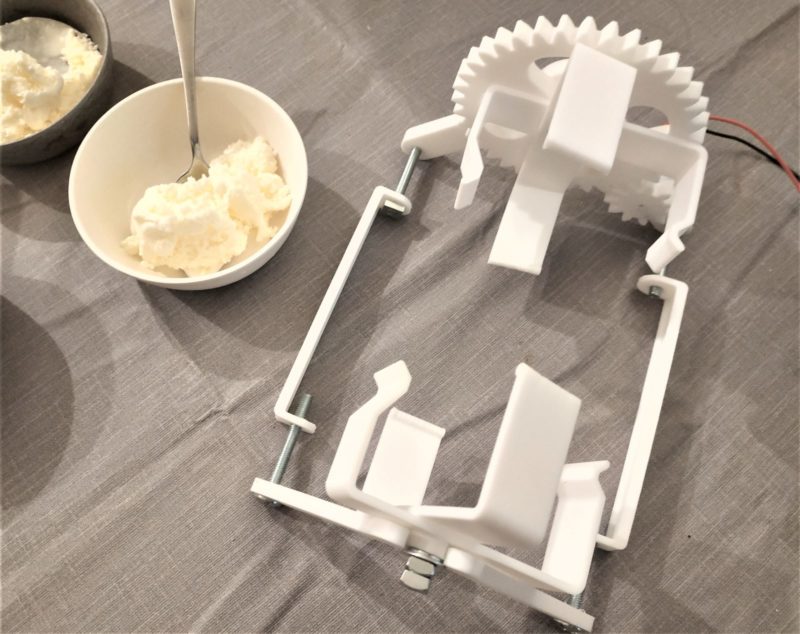
For version 3, I went back to the first set of gears design created using GearGen with Rhino and redesigned the assembly using a similar design from what I learnt in version 2. The new design keeps the gears in the same plane and a separate part to secure the motor. I have also learnt that the parts does not have to be chunky, 4mm is enough to hold the parts in place without much flex. This reduces print time and material use.
Recipe test
To be updated in due course…
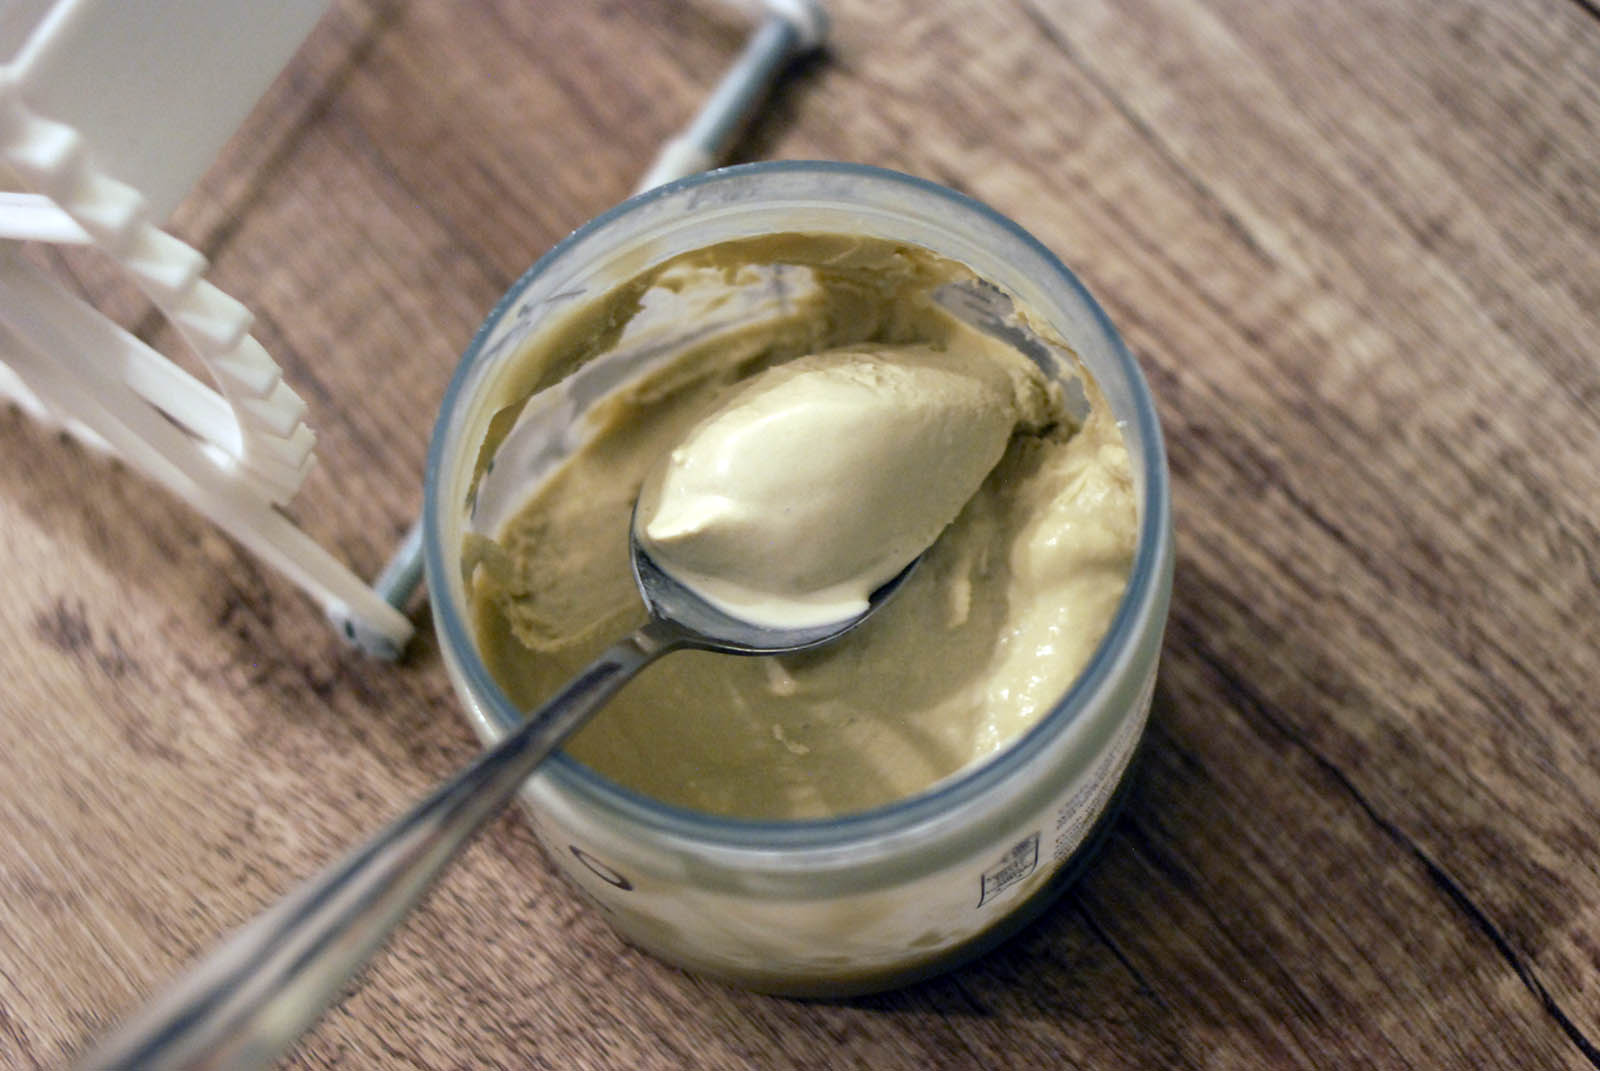
- 150ml double cream
- 75ml whole milk
- 3 tablespoon sugar
- 1 egg yolk
- matcha (green tea) powder
- Heat cream, milk and sugar, cool down a bit and mix with egg yolk.
- Simmer and stir until mixture coats the back of a spoon, cool down and churn for 3 hours